


Tuesday, January 31, 2012
Sunday, January 29, 2012

Tuesday, January 24, 2012

Saturday, January 21, 2012


Thursday, January 19, 2012
Popcorn!


The basic recipe can be found here : I modified it, because I CANNOT physically follow a recipe if my life depended on it.
10 cups freshly popped popcorn
3/4 cup brown sugar
1/4 cup apple juice
3 tablespoons butter
2 and 1/2 tablespoons light corn syrup
1/4 teaspoon salt
2 cups FILL (raisins, nuts, dried cranberries, dried apricots, sunflowers seeds,
Directions:

1 Butter a very large bowl. Add popped popcorn and your selection of the 2 cups of fill.

2 Heat brown sugar, corn syrup, butter, salt, and juice until boil. Pour over dry ingredients in bowl.

3 Butter hands with additional butter or cooking spray. Hand mix all the ingredients in bowl and form into tennis size balls. It may be easier to use a LARGE SCOOP (I use the Pampered Chef large scoop because I am an independent consultant and well I LOVE PAMPERED CHEF).
 With scoop
Compact lightly to get the mixture to hold a ball shape. Set aside. Wrap each popcorn ball in plastic wrap.
4 The balls can be drizzled with melted chocolate for gift giving. I OF COURSE use the Pampered Chef double boiler for chocolate melting! SUPER easy to use, easy to clean!

Hand packed

I like to use white chocolate on the cranberry/cashew ones AND butterscotch on peanut/raisin ones. After wrapping with plastic wrap, I tie with a burgundy colored ribbon.
Wednesday, January 18, 2012
Discovering shapes
Today we hosted a math exploration play date with our homeschooling friends. We explored simple and complex shapes, by creating snowflakes out of smaller shapes and comparing them with other snowflakes. Since NO TWO snowflakes are the same and symmetry is not necessarily important, the kids were able to MOSTLY create independently!

Monday, January 16, 2012
Tolerance
The BEST book for tolerance, bullying and the like lessons is "A Bad Case of Stripes"
Martin Luther King Jr., dreamed of a world more tolerant than the one he lived in. The lessons below -- perfect for use at the start of the school year or for celebrating King's life in January, or any day when children seem to need a reminder -- are designed to teach kids about tolerance. Included: Lessons on stereotyping, appreciating differences, recognizing how words can hurt (or heal), and more.
The highest result of education is tolerance. -- Helen Keller
Helen Kellers words serve as a reminder of the key role educators play -- both as role models and as teachers of tolerance.
The start of the school year and the days leading up to the celebration of Martin Luther King's birthday are excellent times to introduce classroom activities that teach tolerance. Exposure to such lessons has the power to make a difference in students lives -- and in the world those students will create.
Materials Needed
Lesson Plan
This activity will drive home to kids of all ages the power words have to hurt -- or to heal.
Before the lesson.
Using craft or construction paper, trace and cut out a life-size silhouette/outline of a person. To avoid gender- or race-specific figures, you might want to cut the figure from green or blue paper.
Introduce the lesson.
Gather students in a group and introduce them to their new "classmate. (You might give the figure a name such as Greenie or Bluey to avoid any association with a real person.) Explain that new students often have difficulty fitting in because they are entering a situation where groups of students have already formed bonds of friendship. Point out that some people will automatically put up barriers to a new student, deciding quickly -- without even trying to get to know him or her -- that they dislike the new student.
Ask students to imagine that Greenie (for example) has just come into a classroom where bonds already have formed; the atmosphere is very unwelcoming. Invite students, one at a time, to say something mean to Greenie. They will have to use their imaginations, because Greenie has no specific features they can pick on. The teacher might even start the ball rolling by saying something like "We dont want you here, Greenie, or "We dont like people who are different from us, or "Your hair is a mess, Greenie. Each time a mean thing is said to Greenie, the teacher rips off a piece of Greenie's body and hands it to the person who made the comment.
After everyone has had a chance to say something mean to Greenie, its time to start taping Greenie back together. Invite each student who said something mean about Greenie to come up and use tape to reattach his/her piece of Greenie in its proper place. As each piece is reconnected, the student must apologize to Greenie for the mean thing that was said. (You might have younger students model in advance some of the words they might say when making an apology.)
When the torn body is fully repaired -- no matter how hard the students have tried to piece him back together -- Greenie will not look the same as when students met her/him for the first time. Ask questions to lead students to the understanding that, although some of the damage has been repaired, Greenie will never be exactly the same. His feelings were hurt, and the scars remain. Chances are those scars will never go away.
Hang Greenie on a wall as a reminder of the power words have to hurt. Greenies presence will serve as constant reinforcement of a vivid lesson in kindness.
Everybody Is Unique:
A Lesson in Respect for Others
Materials Needed
Lesson Plan
In this lesson, students search for the most positive aspects of some very unusual "people." The activity reinforces the idea that one cant always judge the quality of a person by his or her appearance; sometimes people can be appreciated for their differences.
To begin the lesson, write the word unique on the chalkboard or on a chart. Younger students, especially, will be intrigued by this "unique word! Ask students what the word means to them. Ask: What is it that makes you unique among your classmates?
Next, draw a simple outline of a person on the board or chart. Draw two horizontal lines across the persons body. One line should divide the persons head (including the neck) and torso (shoulders to waist); the other should divide the torso and leg area (from the waist-down). Talk about one section of the body at a time.
When you are satisfied that students have the three parts of the body sorted out, provide each student with a piece of white drawing paper measuring 2 inches square. Have students write their names on one side of the paper and draw on the other side of the paper the head of a person. Tell students that this should not be somebody they know; this unique person should come from their imaginations. Remind them to think first about the features the persons head will have; they can refer to the list they and their classmates created in the first part of the lesson. They should include as much detail as possible in their drawings.
When students finish drawing a unique head, provide them with a sheet of paper that measures 4 inches square. After students write their names on one side of the paper, they should turn the paper over and draw the torso (shoulders to waist) of the person. Before they draw, remind students to imagine the features of the persons torso. How is the body shaped? What clothing is the person wearing? Once again, students should fill the entire space and draw as much detail as possible. Think unique!
When students finish drawing a torso, hand them a third sheet of paper; this time a 3-inch square. Have students write their names on one side of the paper, and draw the bottom part of their person (waist down to the feet). Remind students to fill up the space and include as much detail as possible. Once again, tell them to think unique!
As students finish their final square, have them check to be sure their names are on all three parts; then collect them. You might have students put the heads in one box or folder, the torsos in another, and the legs in a third.
Putting It Together
This part of the lesson might be done the same day or the next day.
Distribute to each student a head, a torso, and a set of legs. Students should not get a body part that they drew. Have students tape together the three body parts to create a totally unique "friend. The new friends will be pretty unusual-looking people, to say the least! But...
Here is the crux of the lesson...
Everybody is different, or unique. What a person looks like on the outside has nothing to do with what is inside! Every person has special talents, special qualities...
After students have had a good laugh about how the three body parts came together to create an unusual-looking person, ask each student to think up a name for his or her new "friend and to give some thought to some of the characteristics the new friend might have. Ask: What special qualities does this unique person have? What special talents does the person possess? What do you have in common with your new friend? How are you different?
After students have decided what qualities their new friends have, tell them you would like them to write about their new friends. You might ask each student to begin a story with the words: I would like you to meet my new friend, [name goes here].... Then give students the freedom to choose what they will write as they go on to describe exactly what it is they like so much about their new buddies.
When students have finished their stories, invite them to share them with their classmates. You might use this read-aloud session as an opportunity to reinforce the lesson you hope they will take from this activity: What a person looks like on the outside has nothing to do with what that person is like on the inside!
Martin Luther King Jr., dreamed of a world more tolerant than the one he lived in. The lessons below -- perfect for use at the start of the school year or for celebrating King's life in January, or any day when children seem to need a reminder -- are designed to teach kids about tolerance. Included: Lessons on stereotyping, appreciating differences, recognizing how words can hurt (or heal), and more.
The highest result of education is tolerance. -- Helen Keller
Helen Kellers words serve as a reminder of the key role educators play -- both as role models and as teachers of tolerance.
|
The start of the school year and the days leading up to the celebration of Martin Luther King's birthday are excellent times to introduce classroom activities that teach tolerance. Exposure to such lessons has the power to make a difference in students lives -- and in the world those students will create.
Those Tear-Me-Apart, Put-Me-Back-Together, Never-Be-the-Same-Again Blues
Materials Needed
- mural or construction paper (brightly-colored paper is best)
Lesson Plan
This activity will drive home to kids of all ages the power words have to hurt -- or to heal.
Before the lesson.
Using craft or construction paper, trace and cut out a life-size silhouette/outline of a person. To avoid gender- or race-specific figures, you might want to cut the figure from green or blue paper.
Introduce the lesson.
Gather students in a group and introduce them to their new "classmate. (You might give the figure a name such as Greenie or Bluey to avoid any association with a real person.) Explain that new students often have difficulty fitting in because they are entering a situation where groups of students have already formed bonds of friendship. Point out that some people will automatically put up barriers to a new student, deciding quickly -- without even trying to get to know him or her -- that they dislike the new student.
Ask students to imagine that Greenie (for example) has just come into a classroom where bonds already have formed; the atmosphere is very unwelcoming. Invite students, one at a time, to say something mean to Greenie. They will have to use their imaginations, because Greenie has no specific features they can pick on. The teacher might even start the ball rolling by saying something like "We dont want you here, Greenie, or "We dont like people who are different from us, or "Your hair is a mess, Greenie. Each time a mean thing is said to Greenie, the teacher rips off a piece of Greenie's body and hands it to the person who made the comment.
When ripping, rip large chunks; it will need to be obvious to students where each chunk fits into the whole if they are to piece Greenie back together.
After everyone has had a chance to say something mean to Greenie, its time to start taping Greenie back together. Invite each student who said something mean about Greenie to come up and use tape to reattach his/her piece of Greenie in its proper place. As each piece is reconnected, the student must apologize to Greenie for the mean thing that was said. (You might have younger students model in advance some of the words they might say when making an apology.)
When the torn body is fully repaired -- no matter how hard the students have tried to piece him back together -- Greenie will not look the same as when students met her/him for the first time. Ask questions to lead students to the understanding that, although some of the damage has been repaired, Greenie will never be exactly the same. His feelings were hurt, and the scars remain. Chances are those scars will never go away.
Hang Greenie on a wall as a reminder of the power words have to hurt. Greenies presence will serve as constant reinforcement of a vivid lesson in kindness.
Everybody Is Unique:
A Lesson in Respect for Others
Materials Needed
- 2-inch square of white drawing paper, one sheet per student
- 3-inch square of white drawing paper, one sheet per student
- 4-inch square of white drawing paper, one sheet per student
- art supplies (might include crayons, markers, or paints)
- writing paper and pen/pencil
Lesson Plan
In this lesson, students search for the most positive aspects of some very unusual "people." The activity reinforces the idea that one cant always judge the quality of a person by his or her appearance; sometimes people can be appreciated for their differences.
To begin the lesson, write the word unique on the chalkboard or on a chart. Younger students, especially, will be intrigued by this "unique word! Ask students what the word means to them. Ask: What is it that makes you unique among your classmates?
Next, draw a simple outline of a person on the board or chart. Draw two horizontal lines across the persons body. One line should divide the persons head (including the neck) and torso (shoulders to waist); the other should divide the torso and leg area (from the waist-down). Talk about one section of the body at a time.
- Discuss some of the features that might make up a persons head/neck. Lead students to understand that people can have blue eyes or brown eyes, small ears or big ears, curly hair or straight hair, dark skin, light skin, or a shade in between, freckles, glasses, or a hat, and so on. Write students ideas about a person's head on the board or chart next to the head area of the person you drew.
- Discuss some of the ways in which peoples bodies might be different. Lead students to understand that people can be skinny or heavy, muscular or frail, square- or round-shouldered, and so on. Talk about the kinds of clothing people might wear -- a T-shirt, a sweater, a feathered boa. Write down some of the possibilities students name.
- Finally, focus on the lower body (from the waist down). Point out that people can have skinny or stubby legs and their feet point in, out, or straight ahead. People wear pants, dresses, high-top sneakers, high-heeled shoes, construction boots, ballerina slippers, and so on. Write down students ideas.
When you are satisfied that students have the three parts of the body sorted out, provide each student with a piece of white drawing paper measuring 2 inches square. Have students write their names on one side of the paper and draw on the other side of the paper the head of a person. Tell students that this should not be somebody they know; this unique person should come from their imaginations. Remind them to think first about the features the persons head will have; they can refer to the list they and their classmates created in the first part of the lesson. They should include as much detail as possible in their drawings.
It is very important that students fill up the entire square with the image of the persons head. Also, remind them their head could use a neck to sit on!
When students finish drawing a unique head, provide them with a sheet of paper that measures 4 inches square. After students write their names on one side of the paper, they should turn the paper over and draw the torso (shoulders to waist) of the person. Before they draw, remind students to imagine the features of the persons torso. How is the body shaped? What clothing is the person wearing? Once again, students should fill the entire space and draw as much detail as possible. Think unique!
When students finish drawing a torso, hand them a third sheet of paper; this time a 3-inch square. Have students write their names on one side of the paper, and draw the bottom part of their person (waist down to the feet). Remind students to fill up the space and include as much detail as possible. Once again, tell them to think unique!
As students finish their final square, have them check to be sure their names are on all three parts; then collect them. You might have students put the heads in one box or folder, the torsos in another, and the legs in a third.
Putting It Together
This part of the lesson might be done the same day or the next day.
Distribute to each student a head, a torso, and a set of legs. Students should not get a body part that they drew. Have students tape together the three body parts to create a totally unique "friend. The new friends will be pretty unusual-looking people, to say the least! But...
Here is the crux of the lesson...
Everybody is different, or unique. What a person looks like on the outside has nothing to do with what is inside! Every person has special talents, special qualities...
After students have had a good laugh about how the three body parts came together to create an unusual-looking person, ask each student to think up a name for his or her new "friend and to give some thought to some of the characteristics the new friend might have. Ask: What special qualities does this unique person have? What special talents does the person possess? What do you have in common with your new friend? How are you different?
After students have decided what qualities their new friends have, tell them you would like them to write about their new friends. You might ask each student to begin a story with the words: I would like you to meet my new friend, [name goes here].... Then give students the freedom to choose what they will write as they go on to describe exactly what it is they like so much about their new buddies.
When students have finished their stories, invite them to share them with their classmates. You might use this read-aloud session as an opportunity to reinforce the lesson you hope they will take from this activity: What a person looks like on the outside has nothing to do with what that person is like on the inside!
Fact versus Fantasy
A very simple lesson.
I have pre-cut photos from a magazine and online that the children will sort into two different groups.
Factual
and
Fantasy
Images such as:


I have pre-cut photos from a magazine and online that the children will sort into two different groups.
Factual
and
Fantasy
Images such as:


Saturday, January 14, 2012
Marble Jar REWARD
The Bean earned her FIRST Marble prize~ She choose the Muppets Movie at the movie theatre..
Such a cutie! She ALMOST made it all the way through...
Such a cutie! She ALMOST made it all the way through...
Friday, January 13, 2012
She LIKES her boots!


Jonathan had the BRILLIANT idea to get Katrina 'Jessy Boots' for Christmas, since she is both obsessed with "Jessy" AND shoes... FANTASTIC idea we ALL thought.. And we drove all the way to the West Farms Mall to get them, since they were not available ANYWAY else! Anyway, upon opening them, Jonathan was SO excited to give them to her, but once she put them on, she screamed and refused to wear them for weeks. He was heart-broken - he didn't seem it, but I could just tell.
Finally, I thought to reach inside the boot and I found a small elastic in each boot that CLEARLY was causing some sort of discomfort, because once I did she put it on and did not let them go..
Jonathan was OVERJOYED! He seemed happier than her that she truly LOVED the gift he so THOUGHTFULLY and PERFECTLY picked out!
Sink or Float
For Rubber Ducky Day, we decided to do a Science Experiment...Since Rubber Ducky's are famous floaters, a little sinking and floating...
Does a paper clip float? Does a sponge sink? Let your child find out! This experiment is simple science fun. Plus, it lets kids practice the Guess and Check Method, as they make predictions, then test their predictions through experimentation.
What You Need:
objects for the experiment (small sponge, paper clip, toothpick, marble, plastic spoon, penny, plastic straw, crayon)
2 large pieces of construction paper
newspaper
markers
plastic dishpan
pencil
blank paper
spiral bound notebook
towel
What You Do:
Label one piece of construction paper with the word “Sink” and the other piece with the word “Float.” Gather a bunch of small everyday items, such as the examples listed above, and put them on a table covered with newspaper.
Show your child the objects you’ve collected and tell her that you’re going to conduct an experiment to find out which objects will sink in water and which will float. Make sure she’s clear on what these words mean before you get started, then ask her to predict which of the items will sink and which will float. Hold up each item, one by one, and as your child makes her prediction, place it on the appropriate piece of paper. For example, if she guesses that the penny will float, put it on the construction paper marked Float. Once she’s made guesses for all of the items, give her the blank paper and ask her to write each item’s name (or draw its picture if she’s not writing yet), to document her predictions.
Time for testing! Fill the plastic dishpan with water and put one item in at a time. Discuss the result. Then dry it off and lay it on the appropriate piece of construction paper, either Sink or Float. Once all the items have been tested, give your child the spiral bound notebook and ask her to record the results of her experiment. Then talk about the results.
The great thing about science is that it can surprise us. Ask your child if any of the objects did something she didn’t expect. Talk about the experiment. Then clean up your lab space and tuck that notebook away for a future day of experimentation!
Thursday, January 12, 2012
GROW baby GROW
I took Katrina Beana to her 18 month appointment this morning. My sweet little baby is growing and growing!
She's still holding strong in the high 80%s.
She's growing taller, not so much heavier... but still super healthy and brave still yet for her vaccination, despite the fact that Jonathan reminded her a dozen times she was going to get a shot before we left. This resulted with her consistently saying "okay, done" after each person we saw, the receptionist, the nurse, the doctor and the physician's assistant.
Wednesday, January 11, 2012
My little hurricane
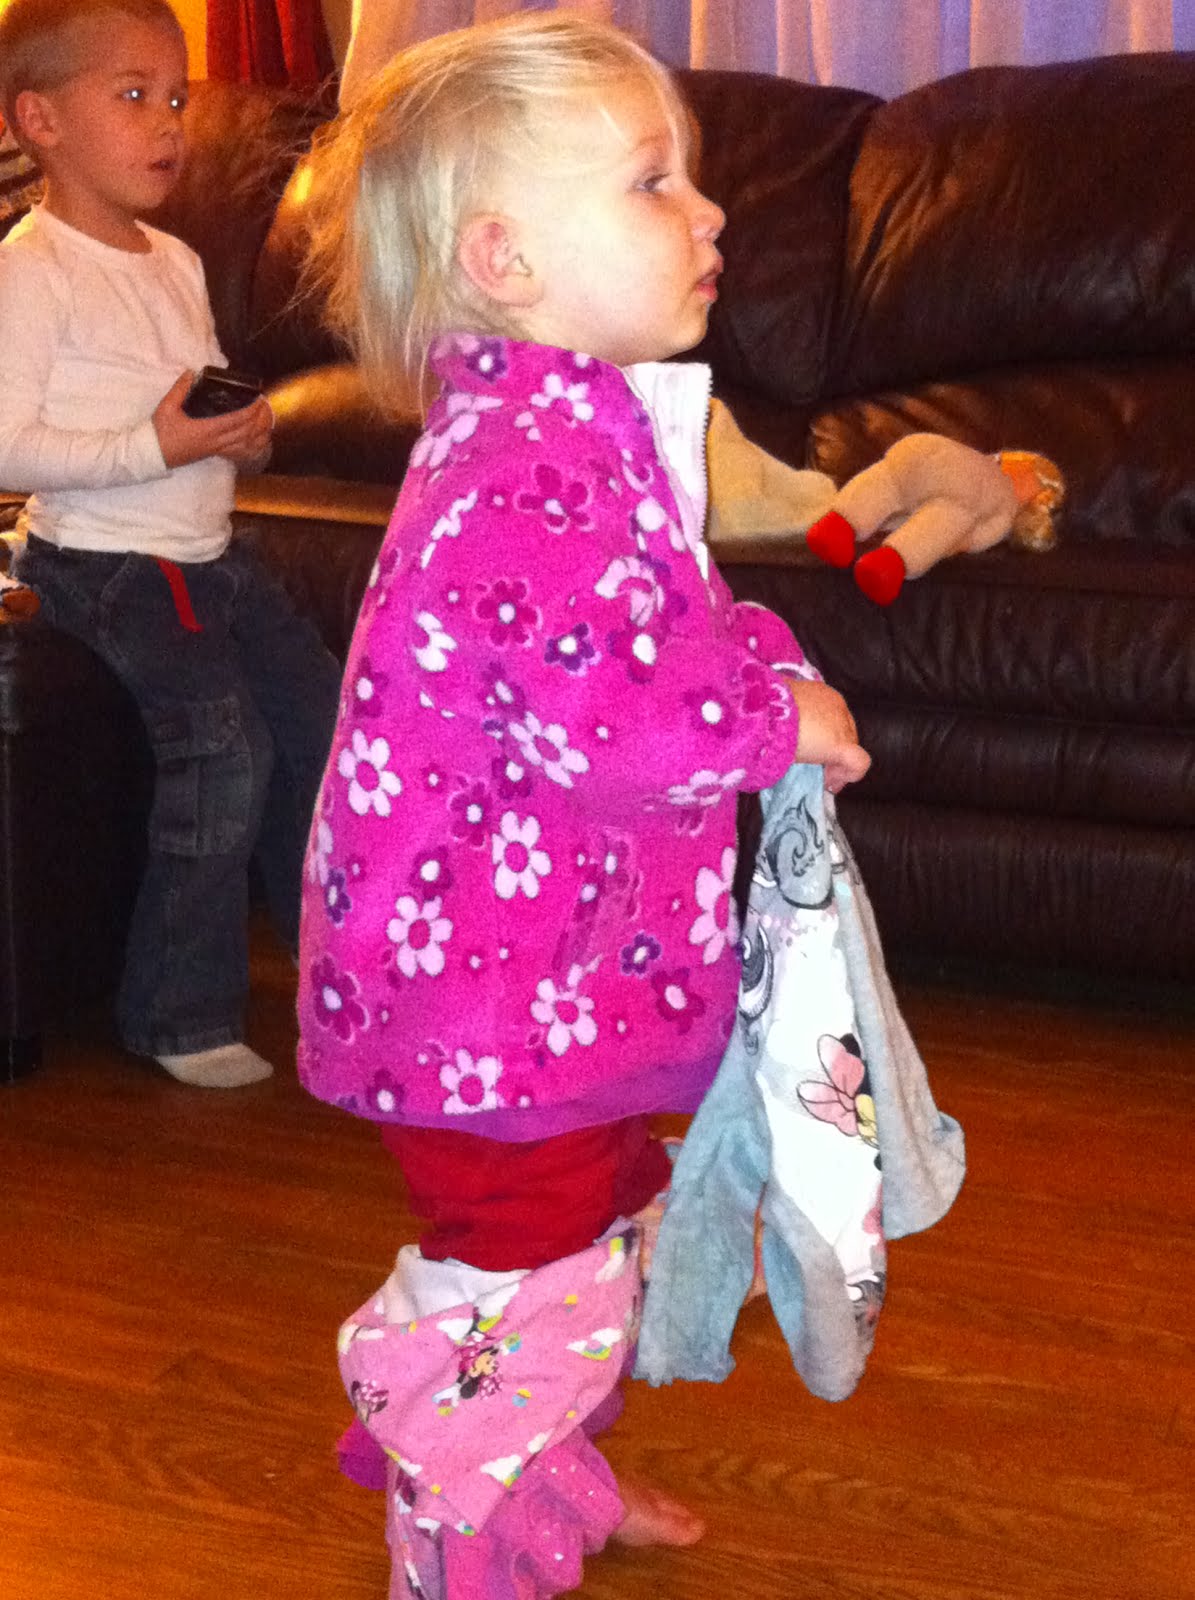

So, it is nearly impossible to get anything done anymore, between work and house-hold chores, play time and actual teaching happening... If I fold a nice neat pile of laundry for instance, my little hurricane will come along and put EVERY single clothing item on her body simultaneously....
Tuesday, January 10, 2012


Tumble with ME


While Jack is in school, I can score a little bit of Trina and mommy time. We have a TINY bit of learning time, but mostly it is just play: trains, dolls and tumbling!
Monday, January 9, 2012
Peguins

Saturday, January 7, 2012
Making Fruit Leather...

Here is our first attempt at making our own DELICIOUS fruit leather!
We made it with the intention of sharing with Zaiden and Hunter on our COUSIN playdate today, until I realized it had to bake for NINE hours... OOPS! At least the children were able to enjoy some sunshine and play outside together. WE MUST do this MORE often! And NEXT time, I will be certain to read the directions first, like the day before!
Thursday, January 5, 2012
Piano Man

Little man is clearly a musically connoisseur. Since BEFORE he was born he loved all types of music. Now that he is getting a bit bigger and we have made the decision to home-school, I have designated each Monday to be music day, normally it is just a bit of musical exploration. He'll sing or fiddle with my guitar or keyboard, even Matt's bongos on occasion. Today we were lucky enough to be able to play on an actual upright piano and to my amazement, he was playing rhythmically in a rather pleasant manner.
Good Luck MATT
Matt is on his way to Florida for a long weekend and some Marathon running...until Monday afternoon..


He did a super job! Ran a 1/2 and a full marathon and came home with THREE medals!!!


He did a super job! Ran a 1/2 and a full marathon and came home with THREE medals!!!
Bird Day
Our Social Studies Unit includes exploration of habitats, life cycles and comparing the needs of animals.
I asked these questions to the children,
1 Where do birds live?
-- How do you build a nest? What materials are used?
*We will make edible bird's nests:
2 - What do birds eat?
3 - What sounds do birds make?
4 - Why do birds fly south for the winter?
AWESOME Website for Science Questions:
I asked these questions to the children,
1 Where do birds live?
-- How do you build a nest? What materials are used?
*We will make edible bird's nests:
| Directions | Ingredients |
| Place squares of wax paper onto to individual plates. Put cereal in a large bowl. If using brick chocolate, break into pieces. Melt chocolate chips or pieces in the microwave, or over low heat on stove, just until melted. Pour melted chocolate over cereal, mix together to coat. Place mounds of chocolate/chow mien mixture onto several plates (on top of waxed paper). Have children form the mixtures into nests. Be sure the chocolate has cooled, but don't wait too long or it will harden! Using peanut butter as an adhesive, "glue" down the jelly beans and candy coated chocolate eggs inside the nest cavity. "Glue" marshmallow chick on the edge of or inside of the nest. | Rice Crispies, broken shredded wheat, or Chow mien noodles chocolate chips or brick chocolate Jelly beans or candy coated chocolate eggs marshmallow chicks (optional) peanut butter wax paper paper plates (colored plates optional) |
2 - What do birds eat?
3 - What sounds do birds make?
4 - Why do birds fly south for the winter?
AWESOME Website for Science Questions:
Sunday, January 1, 2012
Here's to YOU 2012
So carrying on the usual theme for the New Year, I have a resolution, well TWO actually...
1 - I am striving to be a better mom.
2 - I want us all to work as a more cohesive unit - On other words - BE A BETTER FAMILY.
With every change, lengthy or short, there are always steps to success. And of course being the planner that I am...
A: Reset priorities. While our children are the most important part of my life, I need to realize that I matter too, and the relationship between Matt and I is just as important. You’re a better mom when you place yourself as a priority.
2- Learn from the past. Instead of sulking and crying over the tough times encountered over the past few years, I will recognize that nobody is perfect. Yet, I will work toward it. No advice on being a better mom would be complete without suggesting that you learn from your past mistakes. Whatever it is that you weren’t satisfied with or that impacted your life in a not so positive way, review it and learn from it.
3- Stop worrying about what other people think. THIS IS MY SINGLE MOST DIFFICULT CHALLENGE! How I raise my children is my business. While at times I will weigh what others say, (assuming they’re worth listening too) I will ultimately make the decision as to what I believe is int he best interest of MY children and just close my eyes and ears to what other people say. At the end of the day I know MY children and I’ve been given instincts by God on how to raise each of them.
In making a BETTER, more successful and HAPPIER family
A New Day
I know making simple, conscious decisions about our everyday life can influence our physical and mental well-being. Following through on the right resolutions about health and lifestyle choices is not difficult, especially if a firm idea of areas of improvement are established, and understand that small, gradual steps typically have better results than cold-turkey or all-or-nothing approaches.
Each day, I will take some time to consider areas of our life we would like to improve.
* Becoming healthier,
* More generous,
* Less stressed,
* Establish greater organization
* More optimistic.
2. Family Appreciation
We started last year on our weekly trips and they slowly faded for a number of reasons. While I know it is not feasible to commit to that, I know we can commit to family time each week. We will attempt to take a small trips together bi-weekly, whether it be going to an art gallery, museum, or simply walked down at the park.
3. Laugh it off
I have been long recommended using positive thoughts as a way to lessen or prevent the effects of illness and disease. Expressing positive emotions is associated with lowered production of the stress hormone cortisol, better immune function, and reduced risk of chronic diseases. Our GOALS are
* eating a healthy diet,
* exercising regularly
* getting adequate sleep.
* expressing emotional reactions honestly
* talking things through - view the cup as half full instead of half empty.
4. Learning to Forgive
Forgiveness is beneficial not only mentally but physically as well. People who forgive tend to be less angry, depressed, stressed out and anxious, and have lower blood pressure and heart rates than those who hold grudges.
Soup Month
January is National Soup Month
Soup has been so popular throughout time that it’s actually considered one of the first fast foods. There is documentation that as early as 600 B.C., the Greeks sold soup as a fast food on the street, using peas, beans and lentils as main ingredients.
Before there was soup, there was broth, which people used to pour over a piece of bread in a bowl. That bread was known as sop, and from sop came the word soup.
No matter what you call it, there are lots of variations on the basic theme of soup, each offering a wide range of nutritional benefits.
Together we will make a simple soup for lunch...
Ingredients:
* 1 tbs Olive Oil
* 6 Cups Chicken Stock
* 1 tbs Tomato Paste (optional)
* 1/2 Cup Pastini
* 1/4 Cup Peeled, diced Carrots, Celery, Peas
* 1/4 Cup Diced, pre-cooked chicken
To Cook your soup:
Put a tablespoon of olive oil in a pan you can use a deep saucepan to start the vegetables off in... Soften the vegetables over the gentle heat on the top of the stove until they are soft but not browned.
Add the stock and pastina to the vegetables. Add tomato paste to the stock if you wish. Add chicken. Continue to cook the soup in a saucepan on a gentle heat on top of the stove until a simmering heat or less is suitable.

Subscribe to:
Posts (Atom)